
Harold Hall
Metalworking
Workshop Projects
Table Assembly (6)
This is the final assembly (apart from the Myford mounting assembly and Guard) as shown in Photograph 22 and has one interesting component, that is the Table Pivot.
Table Pivot (61)
Cut two pieces of 25 x 8mm steel and machine to 40mm long, mark out the position
of the two tapped holes and machine-
Table Assembly.
As a rotary table is one of the lesser used workshop items I will describe the process in detail aided by three Photographs. Place the rotary table on the milling machine and fitted with a centred setting plug.
With a centre fitted into the machines spindle lower this into the plug, Photograph 23, and fix the rotary table in this position, do not now move the milling machine table locking it in both the X and Y axis. In view of not being able to move the rotary table after it is positioned do ensure, prior to carrying out this process, that there will be sufficient height to fit the milling cutter chuck.W
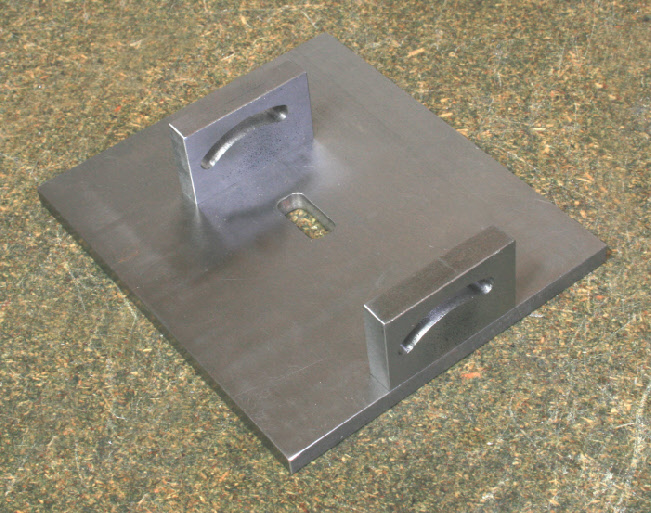


22
23