
Harold Hall
A Critical Stage
This is to drill the holes in the Body and the one in the Tool Holders which must all align accurately, the following setups achieving this result with relative ease. This being a case where the actual dimensions are not that important but repeatability is. I mentioned above there being two critical stages, this being the second.
Place a fence onto the milling machine table with its front face parallel to the X axis, also, it should be nominally 25mm from the centre of the tee slot in front. Place the Body against the fence, key upwards and farthest from the fence, and using an edge finder locate the nearest face. From this point move the table forward by 20mm plus half the diameter of the sensor and lock the Y axis, back/front. It is essential that this setting is maintained for the following operations. If your milling machine has removable handles then remove the Y axis handle to avoid accidentally changing the setting.
Move the edge finder to locate the left hand edge, then moving it to the right by 17mm plus half the diameter of the sensor. You are now in a position to centre drill and drill hole C, 18mm deep, Photo 18.
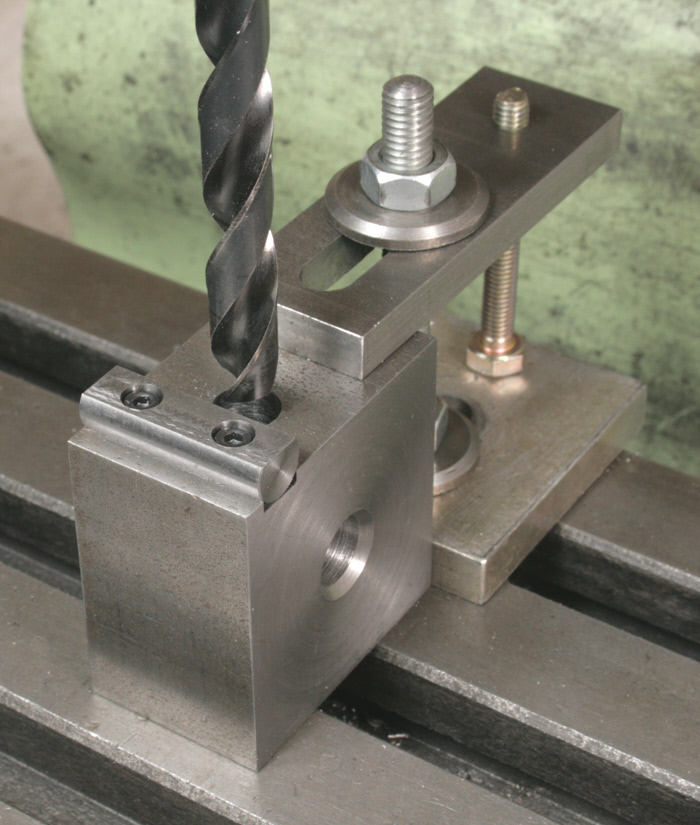
Now turn the base over so that the key is on the right hand side, part still against the fence, and secure on the table using a single stud through the central hole. Locate the right hand edge and then move left, generally as previously described, and drill holes D and F. First drill hole D passing through hole B and to a total depth of 24mm, Photo 19. Finally, drill hole F.
Again, turn the base over, this time key on the left, and once more secure using a single stud through the central hole. First though, I haven't mentioned making the Spacer (4) as it needs no explanation. With it now made secure the spacer on the base using a piece of double adhesive.
Place a Tool Holder against the Body and clamp the two together by some means, a large toolmakers clamp would be ideal. However, I used a low profile clamp which made it easy to remove one holder and fit another. If you do not have a large enough toolmakers clamp, or suitable low profile clamp, Sk. 5 shows a possible alternative that is easy to make.
Metalworking
Workshop Projects


18

19